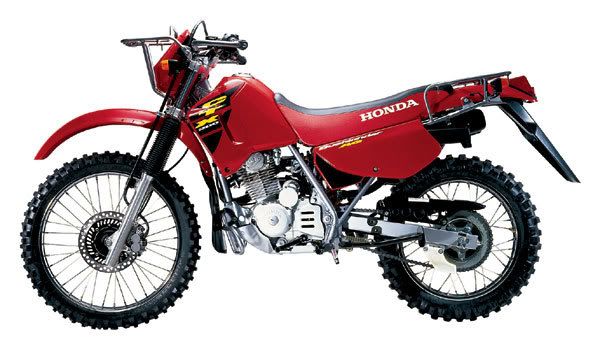
Honda CTX 200 Bushlander
This bike is designed as an Agricultural bike. Off the showroom floor, in my opinion, the bike is ugly. It has HUGE HUGE mud flaps front and rear and protector bars all over (typical for a farm bike). There are so many protectors that you can literally kick the bike over and it will not get a scratch. The bike is however very practical.
I made some changes:
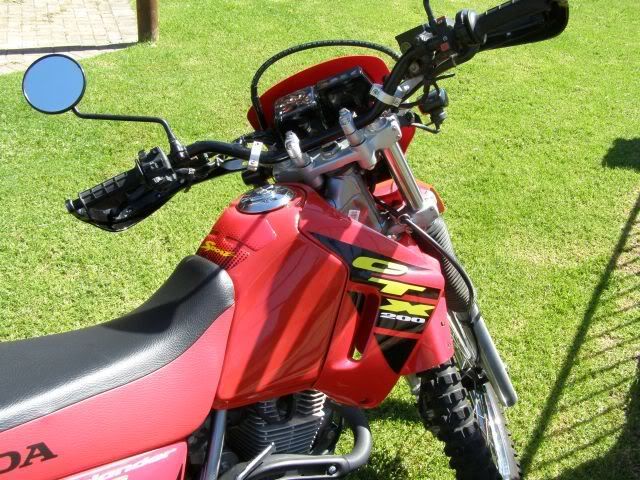
I took off all the mud flaps and crash bars. I added better looking black hand guards, rear foot pegs, a tank protector and mirrors.

Next I had the rear carrier painted black. This way I could keep it on the bike but you don’t see it so prominently.
The carrier is VERY useful as it is huge (it carries 20kg’s as opposed to 10kg’s on most bikes) and it’s wide enough to hang panniers from. I used spacers behind the little cover over the exhaust to keep the pannier clear from the heat. It worked like a charm.
I bought a “cigarette lighter” socket which I connected the battery. This is useful to charge a Cell phone, inflate a mattress etc.
I also replaced the tubes in the tyres with thicker “Enduro” tubes. I cut the old tubes in it’s length on the inside and wrapped them around the Enduro tubes before fitting the tyres, effectively making the tubes even thicker.
I am in the process of replacing all bolts with stainless steel Allan key bolts. Allen keys are smaller and easier to carry in your toolkit.
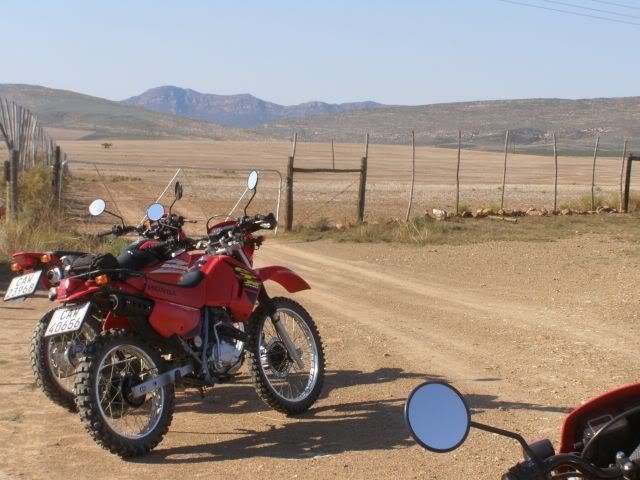
The seemingly low 200cc’s is no problem either. It's a farm bike with a VERY low 1st gear - a low range if you like. It idles up any uphill (with me and my luggage) and it’s also very useful for slow speed steep descents. Another practical aspect is the side stands on each side, with "big feet" which works well in mud and sand. The seat is low and the seating position upright. It has an electric start with a kick start backup. This bike is close to perfect for trail riding and exploring, but for long distance flat stretches the top speed is to low. It is not a long distance touring bike (although that hasn't stopped me). If you want to explore every nook & cranny of the Garden Route
Next I wanted to change the fuel tank. This bike currently carries 8,5 liters of fuel and has a range of 170 - 180km. I wanted to fit a long range fuel tank (22 liters) which would then extend the range to ± 480km, but it turns out such a tank costs more than 10% of the price of a new bike.
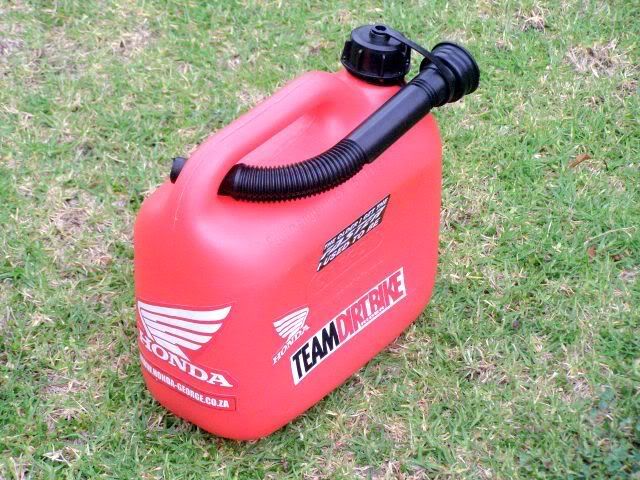
Since 22 liters is (in my opinion) overkill anyway I started looking for a smaller 5 liter auxiliary tank. Eventually I found this little tank which fitted on my front rack perfectly. This would bump up my range to a much more reasonable 280km.
Next I painted the front rack black and had a custom bag made for the auxiliary tank.
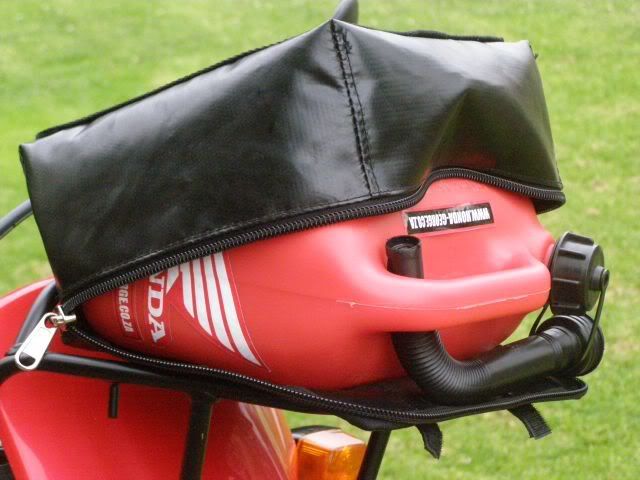
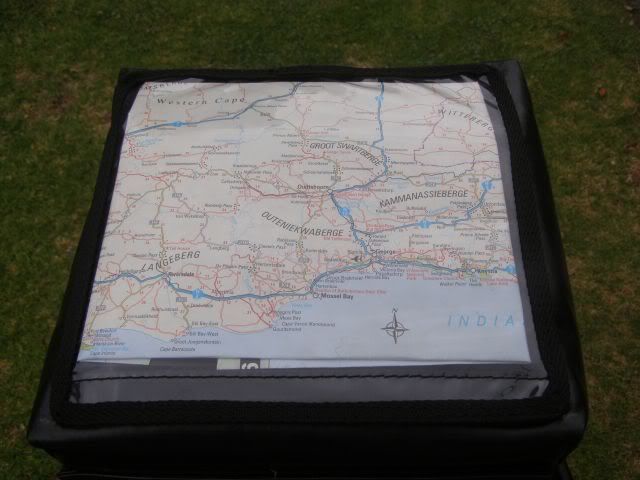
On top of the bag I had clear PVC installed where I could keep my maps. This works nicely because the rack is high and in front of the handles. Much better than on a tankbag where you have to look down all the time. A "heads up display" if you want.
I also needed a solution for my panniers. The previous set I had just did not cut it. They did not have enough space, did not have the necessary support and could not take the abuse. So I started looking for luggage that would fit the exact measurements of the rear luggage rack. I found a big bag with matching smaller bags that would be the panniers. Since these bags aren't bike luggage I needed a custom bracket for protection and support.
I had a alluminium bracket made that would carry the weight of the pannier bags with spaces I could use for the supporting straps. This bracket also keeps the luggage well clear of the wheel and exhaust and the rear light and flickers are well protected and unobstructed.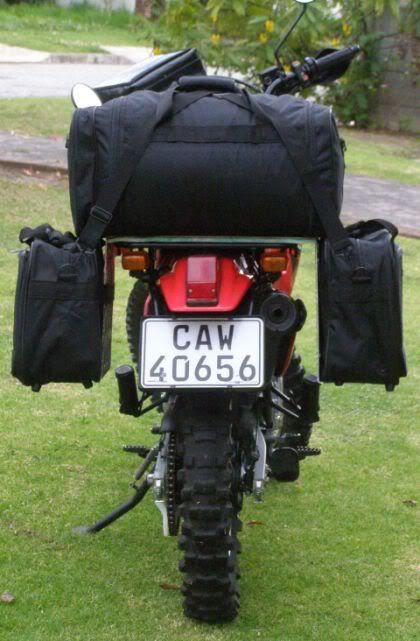
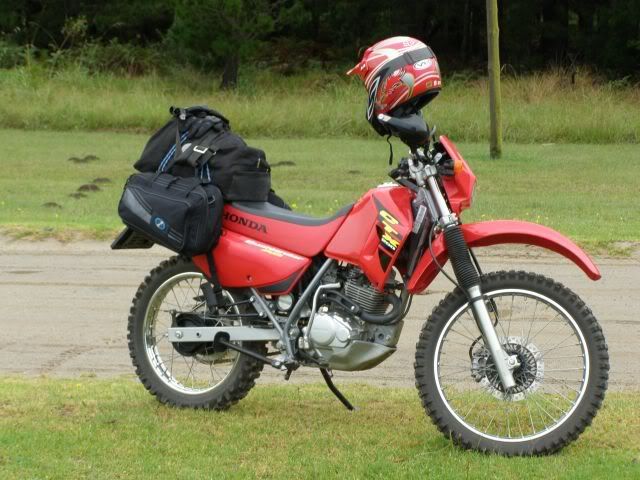
The finished result:
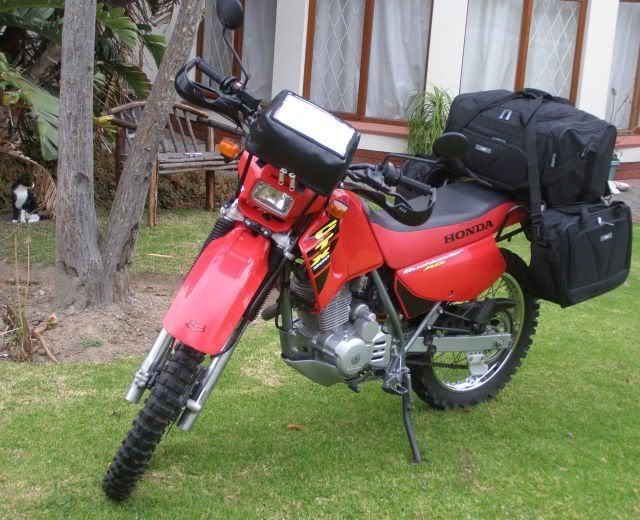
With the new luggage I have more space on the back seat (I can even take my young son as pillion) AND more packing space. I still keep weight to a minimum but now have the space to take big (but light) luxuries like a duvet.
This "luggage solution prototype 1" will be tested on the upcoming 7 day trip to Hogsback. The next step is custom made rain covers for the new luggage and having the front and rear racks and the aluminum bracket powder coated black.
I'll keep you posted!
Update:
In the long run the bent aluminum plate did not work. The lateral movement got more and more as the plate weakened at the bends. There was no space for a cross brace around the back to strengthen it so I had new brackets made.
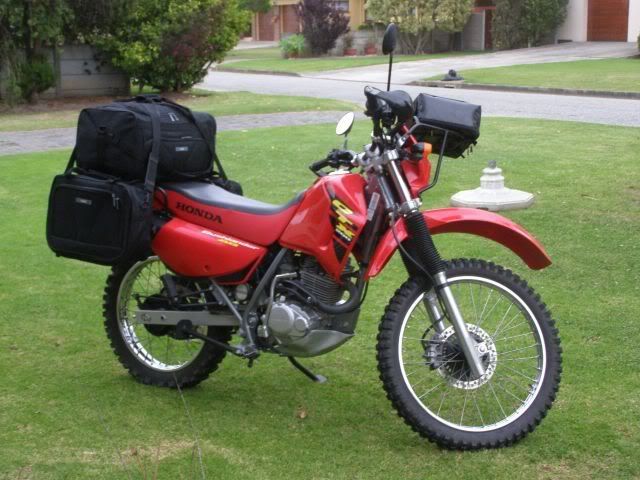
TR luggage solution prototype 2:
I had more sturdy pannier brackets (or baskets) made that can bolt on to the existing carrier. They were made to fit around the cases I use currently. The look much better and are very functional.


The brackets / baskets are level with the carrier effectively increasing the loading area on top by more than 200% - great for long luggage like tent bags. It also has protection from the exhaust heat. I can't remember the name of the material used but it is the replacement product for and similar to asbestos. The whole setup is extremely light weight.

The side bags fit nicely and there is no need to tie them down.

The bike with all bags on:

The side bags I bought at Game for R80 and the matching big bag for R110
On the metal strips I will also ad some of those black stickers that act as reflectors at night for extra visibility.

The panniers can be removed / replaced in less than 5 minutes. Each has 4 bolts with locknuts.
Ready to Roll!
 Where are we going next?
Also see this web article including some pics of my bike
An Ode to the small bike with the BIG heart.


.
.
7 comments:
hi from Turkey
honda imported this bike to Turkey under the name of xl 200.I have one but i am in trouble with my bike.Because honda only imported this bike only one year and sold 200 bikes in turkey and i can't find spare parts. nobody knows about these motorbikes in the northern hemisphere. even there in not a motorbike listed in the honda catalogue. could anyone help me about this motorbikes's spare parts? i would really realy apreciate that. my e mail is saaalt1@hotmail.com
thanks
love the bike and the mods, im currently looking to buy a similair bike wiil probably go with the honda, can i please hace your email address, if u dint mind, just if i have questions on the bike, or trips,
thanks andre
vaalkind@yahoo.com
Hi,
Thanks for all the info and pics. I think that the changes you have made, especially to the carrier are spot on what I would like to do.
I see that your number plate is George and I have been contemplating buying the 2nd hand 2004 (engine redone) bushlander at the George dealership. Do you have any suggestions or advice for me please? You really seem to have a good handle on this bike and I would appreciate your input. I live on a farm and intend it primarily for farm tasks. This is why I would like to make the kind of adjustments you have made.
Thanks,
Colin
Please advise me the fuel consumption per liter of CTX 200..Thanks...
It's around 25 - 30km/L, depending on riding style.
Hi. I am from Knysna. Would you mind sharing your design for the panniers holders? You've done a great job. I am in the process of buying a bushlander for shortish excursion around the Garden Route area. Also, is it safe to carry the extra fuel on the bike. Regards Trevor
Post a Comment